
30
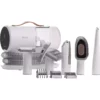
1. Remove the mop attachment. 2. Pull open the tab and empty the
reservoir.
3. Wash the mopping cloth. Air-dry all
parts when done.
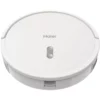
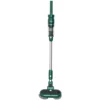
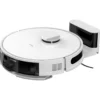
Mop Attachment Maintenace
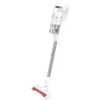
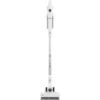
Accessories
The reservoir should be drained after use to avoid possible water damage.
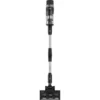
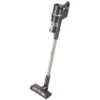
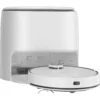
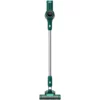
Mop Attachment
Accessories
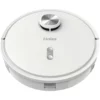
Use distilled water when operating in hard water areas.
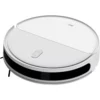
1. Remove the dustbin. 2.
with water.
4. Replace the dustbin.
Note: With the mop attachment connected,
Robot will not enter the NoMop zones.
3. Align the mop attachment connectors
with the dustbin’s and press to lock
in place.
26
25
АКСЕССУАРЫ
Уход за насадкой для влажной уборки
После использования опорожняйте резервуар, чтобы избежать повреждения устройства водой.
1. Снимите насадку для влажной уборки.
3. Промойте тряпку для мытья пола. После очистки просушите все детали на воздухе.
2. Откройте крышку и слейте воду из резервуара.
1. Remove the mop attachment. 2. Pull open the tab and empty the
reservoir.
3. Wash the mopping cloth. Air-dry all
parts when done.
Mop Attachment Maintenace
Accessories
The reservoir should be drained after use to avoid possible water damage.
Mop Attachment
Accessories
Use distilled water when operating in hard water areas.
1. Remove the dustbin. 2.
with water.
4. Replace the dustbin.
Note: With the mop attachment connected,
Robot will not enter the NoMop zones.
3. Align the mop attachment connectors
with the dustbin’s and press to lock
in place.
26
25


Добавить комментарий