28
Sensors
1. Wipe the edge and wall sensors. 2. Wipe the charging nodes on Robot and
his station.
3. Wipe the metal connectors on the
dustbin and wet mop attachment.
4. Wipe the top and the area around the
SLAM LiDAR.
Use a soft cotton cloth to wipe the sensors.
Maintenance
Important Note: Robot’s SLAM LiDAR is a sensitive sensor. Do not apply force, insert objects, or
adjust the SLAM LiDAR. Do not sit on Robot or place items on top of him.
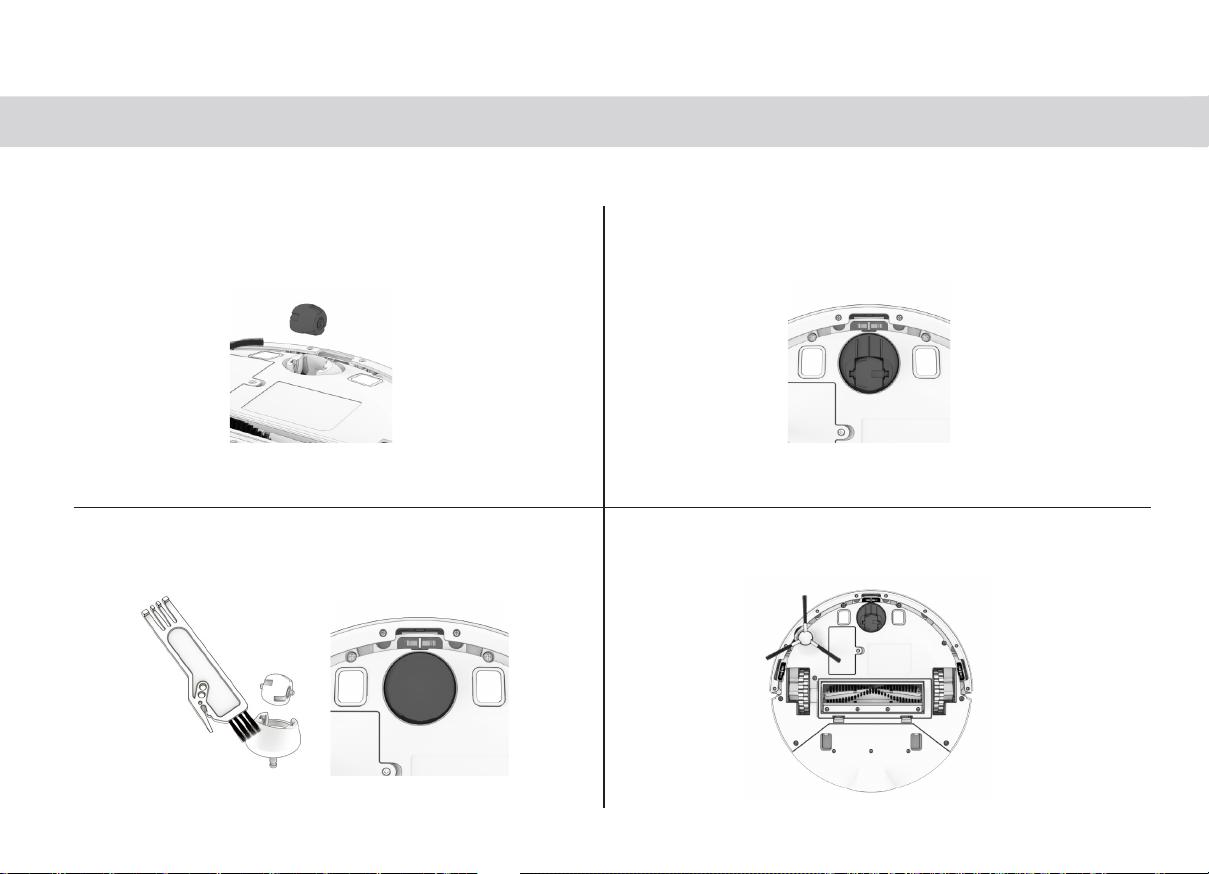
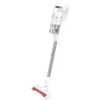
Front Wheel
Maintenance
1. 2. Once the wheel is removed, use the
screwdriver to pry out the wheel assembly.
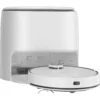
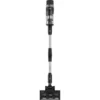
3. Clean the wheel and all its components,
including the assembly and wheel socket.
4. Replace both parts when done.
Push down to lock them into place.
22
Sensors
1. Wipe the edge and wall sensors. 2. Wipe the charging nodes on Robot and
his station.
3. Wipe the metal connectors on the
dustbin and wet mop attachment.
4. Wipe the top and the area around the
SLAM LiDAR.
Use a soft cotton cloth to wipe the sensors.
Maintenance
Important Note: Robot’s SLAM LiDAR is a sensitive sensor. Do not apply force, insert objects, or
adjust the SLAM LiDAR. Do not sit on Robot or place items on top of him.
Front Wheel
Maintenance
1. 2. Once the wheel is removed, use the
screwdriver to pry out the wheel assembly.
3. Clean the wheel and all its components,
including the assembly and wheel socket.
4. Replace both parts when done.
Push down to lock them into place.
22
УХОД ЗА РОБОТОМ
Переднее колесо
1. Используя отвертку с плоским шлицем в качестве
рычага, крепко возьмитесь за колесо и потяните.
3. Очистите колесо и все его компоненты,
включая ось и гнездо колеса.
4. Вставьте обратно обе детали. Нажмите,
чтобы зафиксировать их на месте.
2. После снятия колеса используйте отвертку,
чтобы вытащить колесную ось.


Добавить комментарий