24
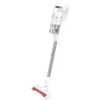
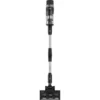
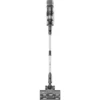
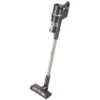
Quick Tips: Clear debris out of nooks and crannies around the brushes and wheels.
Use tweezers to remove congestion from the brush ends and main and side brush
compartments on Robot.
Use scissors or the included cleaning tool to cut hair wrapped around the brushes.
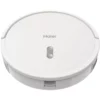
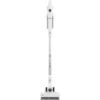
Maintenance
Part Maintenance Frequency Replacement Frequency
Dustbin Monthly
Filter Monthly Every 6 months
Brushes Weekly Every 12 months
Sensors Weekly
Front Wheel Weekly
Battery Every 24 to 36 months
Maintenance
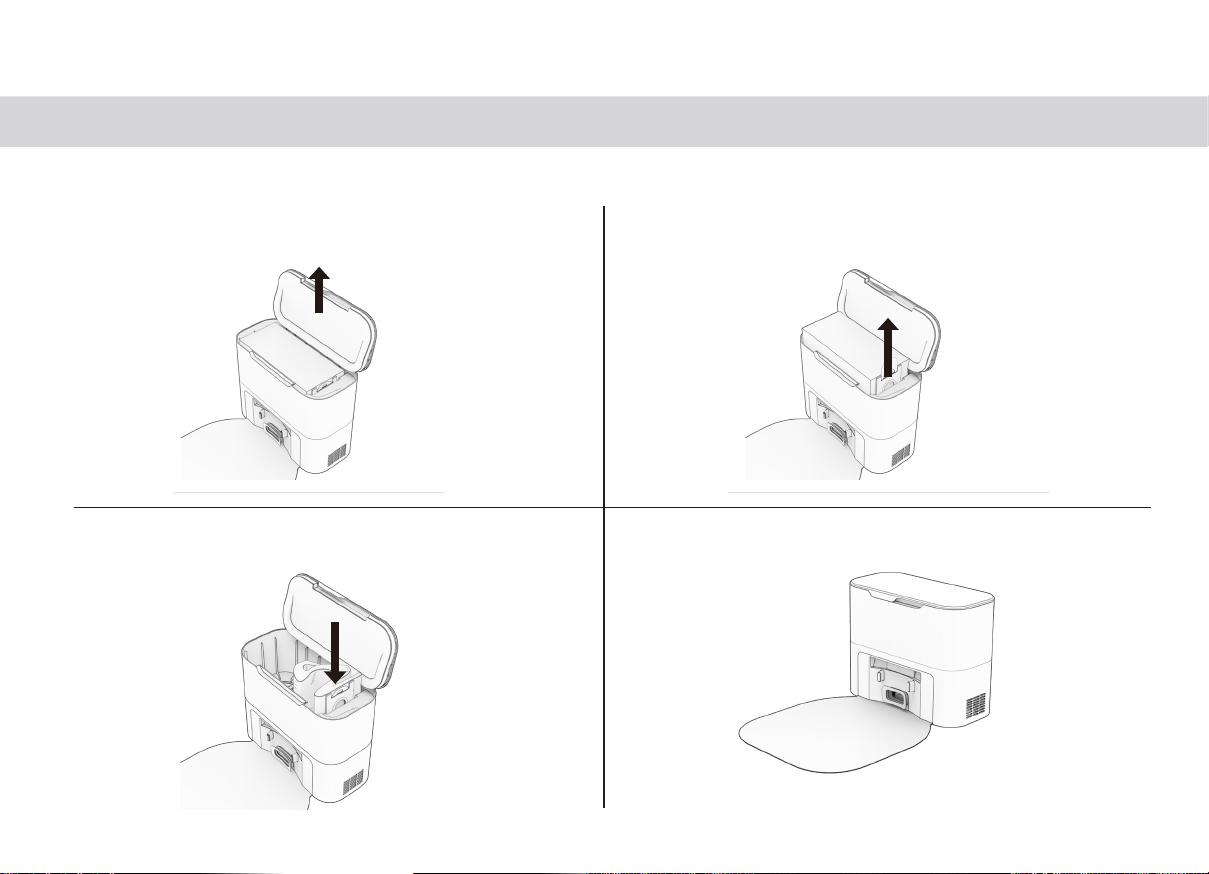
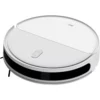
Dust Bag
1. Lift and open the lid. 2. Pull up and remove the full dust bag to
discard.
4. Press down on the lid ensuring it is
closed.
3. Place the new dust bag, sliding the card
into place completely.
18
17
Quick Tips: Clear debris out of nooks and crannies around the brushes and wheels.
Use tweezers to remove congestion from the brush ends and main and side brush
compartments on Robot.
Use scissors or the included cleaning tool to cut hair wrapped around the brushes.
Maintenance
Part Maintenance Frequency Replacement Frequency
Dustbin Monthly
Filter Monthly Every 6 months
Brushes Weekly Every 12 months
Sensors Weekly
Front Wheel Weekly
Battery Every 24 to 36 months
Maintenance
Dust Bag
1. Lift and open the lid. 2. Pull up and remove the full dust bag to
discard.
4. Press down on the lid ensuring it is
closed.
3. Place the new dust bag, sliding the card
into place completely.
18
17
УХОД ЗА РОБОТОМ
Мешок для пыли
1. Поднимите и откройте крышку
3. Вставьте новый или очищенный пылесбор-
ник и полностью зафиксируйте его внутри.
4. Нажмите на крышку, чтобы убедиться,
что она закрыта.
Quick Tips: Clear debris out of nooks and crannies around the brushes and wheels.
Use tweezers to remove congestion from the brush ends and main and side brush
compartments on Robot.
Use scissors or the included cleaning tool to cut hair wrapped around the brushes.
Maintenance
Part Maintenance Frequency Replacement Frequency
Dustbin Monthly
Filter Monthly Every 6 months
Brushes Weekly Every 12 months
Sensors Weekly
Front Wheel Weekly
Battery Every 24 to 36 months
Maintenance
Dust Bag
1. Lift and open the lid. 2. Pull up and remove the full dust bag to
discard.
4. Press down on the lid ensuring it is
closed.
3. Place the new dust bag, sliding the card
into place completely.
18
17
2. Потяните вверх и извлеките пол-
ный пылесборник для утилизации.


Добавить комментарий