13
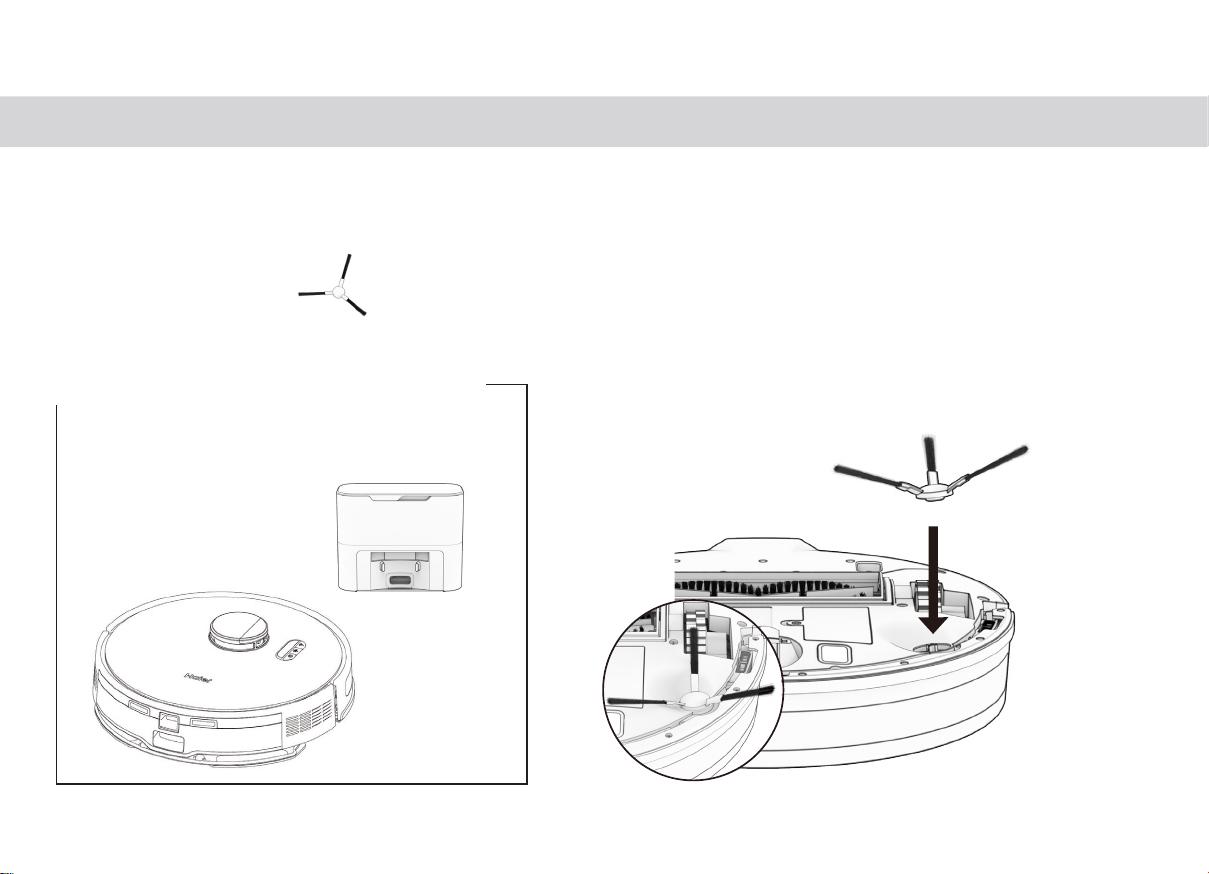
Place the side brush over the empty
socket on Robot. Press down to lock.
Robot’s First Clean Robot’s First Clean
Before Starting
Remove protective pieces from Robot’s
bumper and charging station.
Install Robot’s Side Brush
Install Robot’s side brush to help him reach the corners and edges of rooms.
Parts You’ll Need: Side Brush
Power Robot ON
Press and hold the GO button until the screen lights up.
If you are not going to use Robot for a
while, you can place him on Low Power
Standby mode (LPS mode). To do so, place
Robot on his charging station. Press and
hold the CHARGE button on Robot for 5
Robot
seconds. You’ll hear “low power mode”,
this mode, press GO on Robot while he’s
on the charging station, or remove him from
the station.
Storing Robot
If you are not using Robot for an extended
period of time (over a month), power him
OFF, remove his battery, and unplug his
charging station. Store everything in a dry
room, away from direct sunlight or extreme
temperature.
Important Note: In this mode, Robot is
to connect to Robot. Furthermore, any
Tuya APP
scheduled cleaning will be paused.
12
11
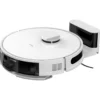
ПЕРВАЯ УБОРКА РОБОТА
Установка боковой щетки робота
Потребуется:
Перед началом использования
Боковая щетка
Снимите защитные элементы с бампера
робота и зарядной станции.
Установите боковую щетку на пустой разъем
робота. Нажмите вниз, чтобы зафиксировать.
Установите боковую щетку робота, чтобы ему было проще очищать углы и края комнат.
Place the side brush over the empty
socket on Robot. Press down to lock.
Robot’s First Clean Robot’s First Clean
Before Starting
Remove protective pieces from Robot’s
bumper and charging station.
Install Robot’s Side Brush
Install Robot’s side brush to help him reach the corners and edges of rooms.
Parts You’ll Need: Side Brush
Power Robot ON
Press and hold the GO button until the screen lights up.
If you are not going to use Robot for a
while, you can place him on Low Power
Standby mode (LPS mode). To do so, place
Robot on his charging station. Press and
hold the CHARGE button on Robot for 5
Robot
seconds. You’ll hear “low power mode”,
this mode, press GO on Robot while he’s
on the charging station, or remove him from
the station.
Storing Robot
If you are not using Robot for an extended
period of time (over a month), power him
OFF, remove his battery, and unplug his
charging station. Store everything in a dry
room, away from direct sunlight or extreme
temperature.
Important Note: In this mode, Robot is
to connect to Robot. Furthermore, any
Tuya APP
scheduled cleaning will be paused.
12
11


Добавить комментарий