Haier HOQ-K4AAN3BX
Данная инструкция на русском языке предназначена для духового шкафа Haier HOQ-K4AAN3BX, описывает принцип работы и основные моменты эксплуатации устройства. Перед первым включением рекомендуется внимательно изучить данное руководство.
Инструкция для духового шкафа представлена в формате PDF, который поддерживается на всех современных устройствах, так что сложностей с открытием файла возникнуть не должно. Но если открыть документ не получается, установите любую программу для чтения PDF файлов, например Acrobat Reader.
Чтобы распечатать инструкцию, нужно ее сначала скачать, для этого кликните по кнопке «Скачать инструкцию», файл откроется в новой вкладке, затем нажмите комбинацию клавиш Сtrl + P и из открывшегося диалогового окна, отправьте документ на печать.
Другие Духовые шкафы Haier
 Haier HOD-P08TGW
  Haier HOY-P09NSGBB
  Haier HOX-P09CGBX
 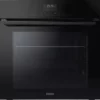 Haier HOQ-F3AAN3GB
 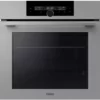 Haier HOQ-F6QSN3GG
 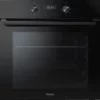 Haier HOQ-K2ANN3GB
 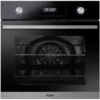 Haier HOD-P08TGBX
  Haier HOD-PF08TGB
  Haier HOQ-P16AS5SX
  Haier HOX-C09ATQBC
  Haier HOX-P06HGW
  Haier HOQ-P16AS5GB
 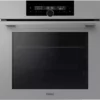 Haier HOQ-F6QAN3GG
 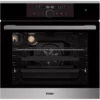 Haier HOX-FP5RABX
  Haier HOX-T11HGB
 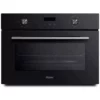 Haier HOY-P09NCGB
  Haier HOQ-P16AS5GW
 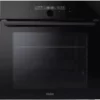 Haier HOQ-F6QAN3GB
  Haier HOQ-F6QSN3WB
  Haier HOX-P11CGB
Добавить комментарий