18
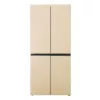
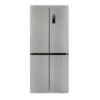
3. APPLIANCE DESCRIPTION
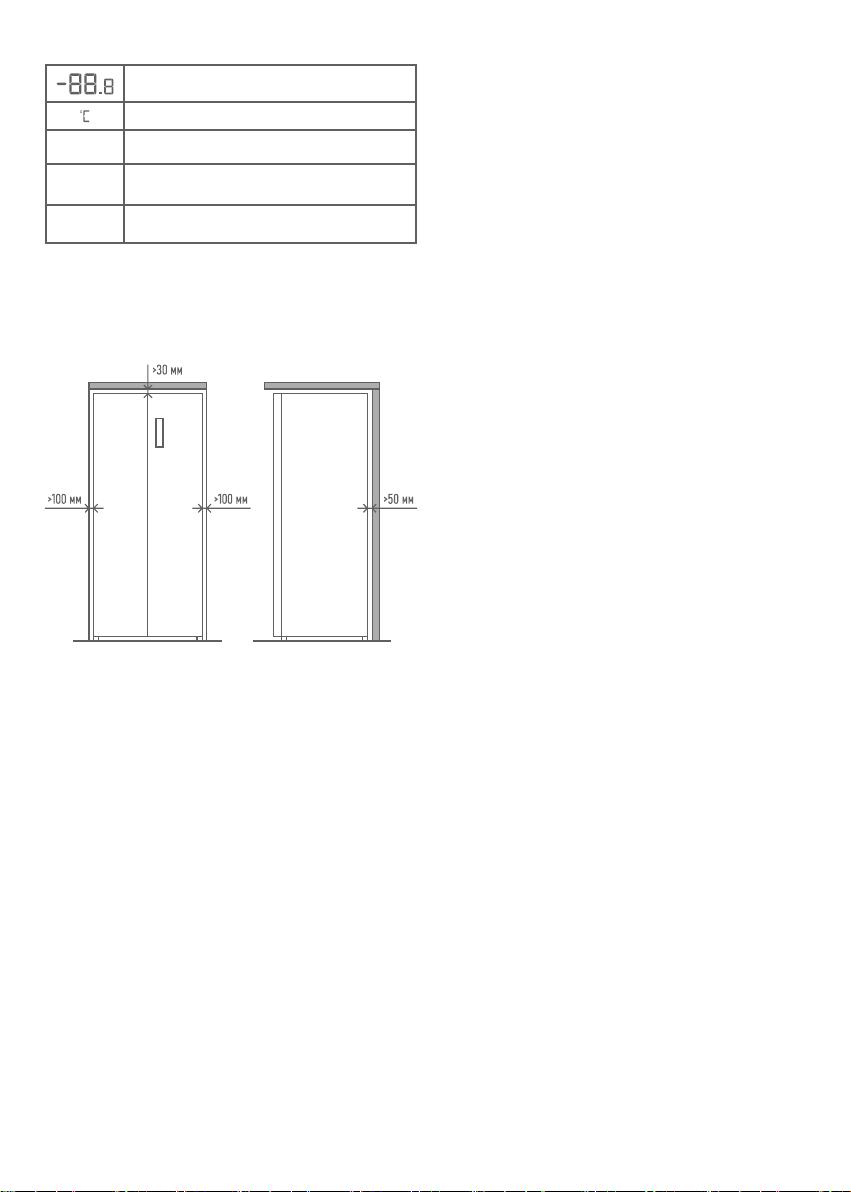
Digital display
Temperature indicator
ECO ECO
Fast
cooling function indicator "Fast cooling"
Fast
freezing function indicator "Fast freezing"
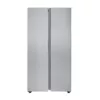
4. INSTALLING THE REFRIGERATOR
Correct installation of the refrigerator is essential for its reliable and efficient
operation. Always lift the refrigerator grabbing it by the bottom. Never drag the
refrigerator by its door or door handle. The manufacturer’s guarantee will not
apply to door damage caused by its re-hinging. Any repairs caused by such
circumstances will be performed at the cost of the owner.
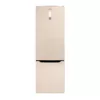
4.1. VENTILATION
The compressor and condenser of the refrigerator heat up during operation,
therefore sufficient ventilation should be provided for cooling.
–The refrigerator should be installed in a well-ventilated room with normal
humidity. Never install the refrigerator in rooms with high humidity, e.g. in
bathrooms or basements.
–During operation, the refrigerator releases heat to the environment. Therefore,
it is recommended to leave at least 30mm of free space on the top side, more
than 100mm on both sides and more than 50mm on the back of the refrigerator.
But since the cooling plate is located at the bottom, and the opening angle of
the doors allows you to install the refrigerator close to the walls, the minimum
allowable distance from the refrigerator to the walls is 4 mm.
–Do not place the appliance near heat sources.
–Do not install the refrigerator so that it is exposed to direct sunlight or near
heat sources (kitchen ovens, cookers, fireplaces, etc.).
4.2. LEVELING
It is important that the refrigerator is installed on a level surface for efficient
operation. After placing the refrigerator at its permanent location adjust its
position by turning the adjustable front feet. The refrigerator should not be
slanted backwards by more than 5°.
4.3. CONNECTING TO POWER SUPPLY
The refrigerator complies with Class 1 requirements for protection against
electric shock and is connected to the power supply grid by a two-pole plug with
an earthing contact. Before connecting to power supply ensure that:
–the grid voltage corresponds to that indicated on the data plate located on the
back side of the refrigerator;
–the earthing contact of the electric socket is connected to an earthing
conductor of the mains cable (the earthing conductor should have a minimum
rating of 10 A);
–the power socket and plug should be of the same type; if the plug does not fit
the socket the latter should be replaced with one compatible with the plug
(this work should be performed by a skilled electrician).
The refrigerator should be placed so that you would always have access to
the power socket. A refrigerator improperly connected to power supply, i.e.
incompliant with the requirements for powerful home appliances set forth in
this manual, is potentially dangerous. The manufacturer shall not be made liable
for damage to human health and property if such damage is caused by non-
observance of the installation requirements specified herein.
5. OPERATING THE REFRIGERATOR
5.1. BEFORE TURNING ON
After installing the refrigerator please wait for approx. three hours before
connecting it to power supply. This way you will allow the refrigerant to be
properly distributed: this is necessary for proper operation of the refrigerator.
You will be able to place food in the refrigerator within a few hours after
connecting it to power supply. Remove the transportation inserts between the
compressor and the back wall of the niche, as well as all other inserts and
adhesive tape preventing the movable parts of the appliance from displacement
during transportation.
If the appliance is covered in a protective polymer film, carefully remove it, taking
precautions not to damage the paint or polymer coatings in the components.
5.2. INITIAL OPERATION
DISPLAY
When the refrigerator is powered on, the display screen is displayed for 5
seconds.
After closing the refrigerator door, the display will automatically turn off if no
button is pressed for 3 minutes.
When the display is turned off, it lights up when the refrigerator door is opened
or any button is pressed.
The following button operations are valid only if the buttons are unlocked and
lit on the display.
SETTING THE TEMPERATURE IN THE REFRIGERATOR
Press the REFRIGERATOR button to select the refrigerator area, and the whole
digit on the display will start flashing, then press the REFRIGERATOR button to
adjust the whole value, then press OK to confirm the setting. Then the decimal
digit will start flashing. Press the FRIDGE button to adjust the decimal value,
finally after that press OK to confirm the setting.
The temperature conditions of the refrigerator change as follows:
5 °C => 6 °C => 7 °C => 8 °C => OFF => 2 °C => 3 °C => 4 °C => 5 °C.
OFF means turning off the refrigerator. When the OFF value is selected, the
refrigerator will turn off, the «°C» icon will go out.
ATTENTION! Before enabling this feature, be sure to remove all products from the
fresh food compartment.
SETTING THE TEMPERATURE IN THE FREEZER
Press the FREEZER button to select the refrigerator area, and the whole digit on
the display will start flashing, then press the FREEZER button to adjust the whole
value, then press OK to confirm the setting. Then the decimal digit will start
flashing. Press the FREEZER button to adjust the decimal value, finally after that
press OK to confirm the setting.
The temperature conditions of the refrigerator change as follows:
-18 °C => -17 °C => -16 °C => -24 °C => -23 °C => -22 °C => -21 °C => -20 °C => -19 °C
=> -18 °C.
ECO FUNCTION
When the ECO function is enabled, the temperature in the refrigerator will
be set to 5 °C, and in the freezer - to -18 °C, which guarantees the storage of
products in the best temperature range, as well as more efficient operation of
the refrigerator.
In ECO mode, the temperature in the refrigerator and freezer does not change.

Добавить комментарий